I made two boxes to hold my crafty supplies this weekend. Both of the boxes are small, so they're for small items, like needles, scissors, measuring tape, thread, etc. Basically notions and other accessories. In fact, I labeled them both. Conveniently, one already said "Accessories" on top (in several languages).
This first one came from my external hard drive box. I know some people keep boxes like this to store all the extra stuff that comes with an electronic device, but I rarely use them. Normally, they end up as packaging for a wrapped Christmas gift. But this one was perfect, as it already said Accessories on top. Also, it was a black box, so I didn't have to hide the boring brown cardboard color.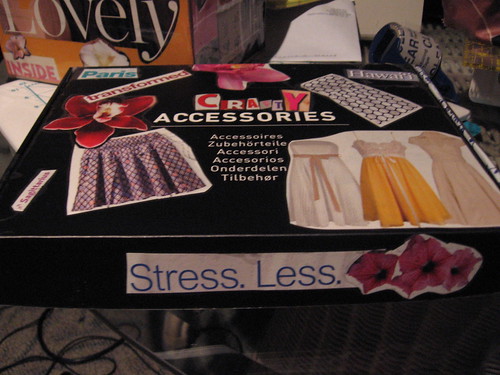
I used a lot of newspaper and magazine cutout letters, words, and pictures to cover the top. Since the background was black, I didn't cover even half of the space and left the bottom as-is. I covered the outside, the protect the newly rubber cemented-on pictures, in clear contact paper. That was a hassle, though, so I don't recommend it in one huge sheet, as I did this one. But it was a learning experience. I covered the inside in a blue flower print contact paper, and that was easier, as it was thicker and unstuck easier for repositioning. The only tricky parts were the inside corners and the tabs the tuck into the sides to close it.
And look! It's already a great box for holding my templates, such as the fish ones for the quilt I'm making. I cut those out today, from a Finding Nemo gigantic on-the-floor coloring book. They didn't have a big enough bag at Office Depot, so I had a fun time carrying it around while we were shopping in Ward Center yesterday. :-)
The other box I made Saturday morning. Since this one was regular brown cardboard, I found blocks of color in the magazines to cover it with before I put pictures on it. However, first, I altered the box. First, I taped down the bottom inside, as the flaps didn't sit flat. It was a regular little box, with four top flaps. But I cut off the two short side ones and one of the longer ones. I reattached the longer side, only this time I taped it to the still-attached long side, so the top became one big flap, instead of two opening up in the middle. Like so: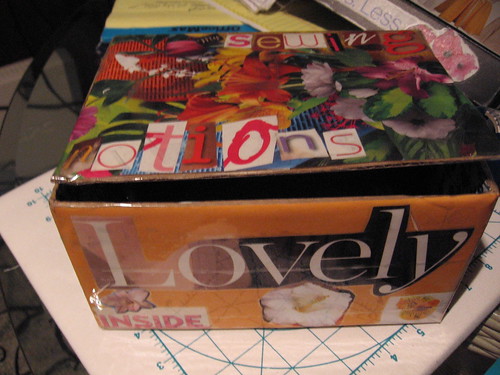
I covered the top of this one in the clear contact paper, but decided it just a.) wasn't sticky enough and b.) wasn't clear enough. I used a bunch of clear packing tape for the rest of the sides and to smooth out the raw cardboard edges. It gave a nice glossy look to it and was much easier to use. I covered the inside with the blue flowers again -- I thought it brightened it up a lot.
In the box for my external hard drive, I found two plastic supports that help to hold it in place while it's in the box. I put one inside of this box (it conveniently fit perfectly) for a caddy, like so:
I want to attached a ribbon or cord to the top of this box, so I can make a closure on it to finish it off, but I haven't gotten to it yet. But if and when I do, I'll post about it.
Monday, September 24, 2007
Boxes!
Subscribe to:
Post Comments (Atom)


1 comment:
Your boxes are fantastic! You're the craftiest person I know. Can't wait to see more posts!
Post a Comment